Rotating a product range each week
This guide is to show you how you can set a rotating product range each week. So that you have a different range of products available each week - and this then rotates and the schedule starts from the beginning again without you having to do another thing
The table below gives an example of 4 different product ranges called "Week 1", "week 2", Week 3" and "Week 4" along with their proposed start and end dates.
| Start date | End date | Collection live on site |
| Monday 19/07 | Monday 26/07 | Week 1 |
| Monday 26/07 | Monday 02/08 | Week 2 |
| Monday 02/08 | Monday 09/08 | Week 3 |
| Monday 09/08 | Monday 16/08 | Week 4 |
| Monday 16/08 | Monday 23/08 | Week 1 |
| Monday 23/08 | Monday 30/08 | Week 2 |
| And so on...... |
|
|
|
|
|
|
Step 1; Set-up your different collections for each week in Shopify admin.
Step 2; Begin setting up your schedules. You will need one for each of the collections (in this case, 4). If you don't know how to set up a schedule, you can follow this guide https://support.autoscheduleapp.com/article/15-setting-a-schedule
Step 3; The details.
- Select the collection you want to show in week 1.
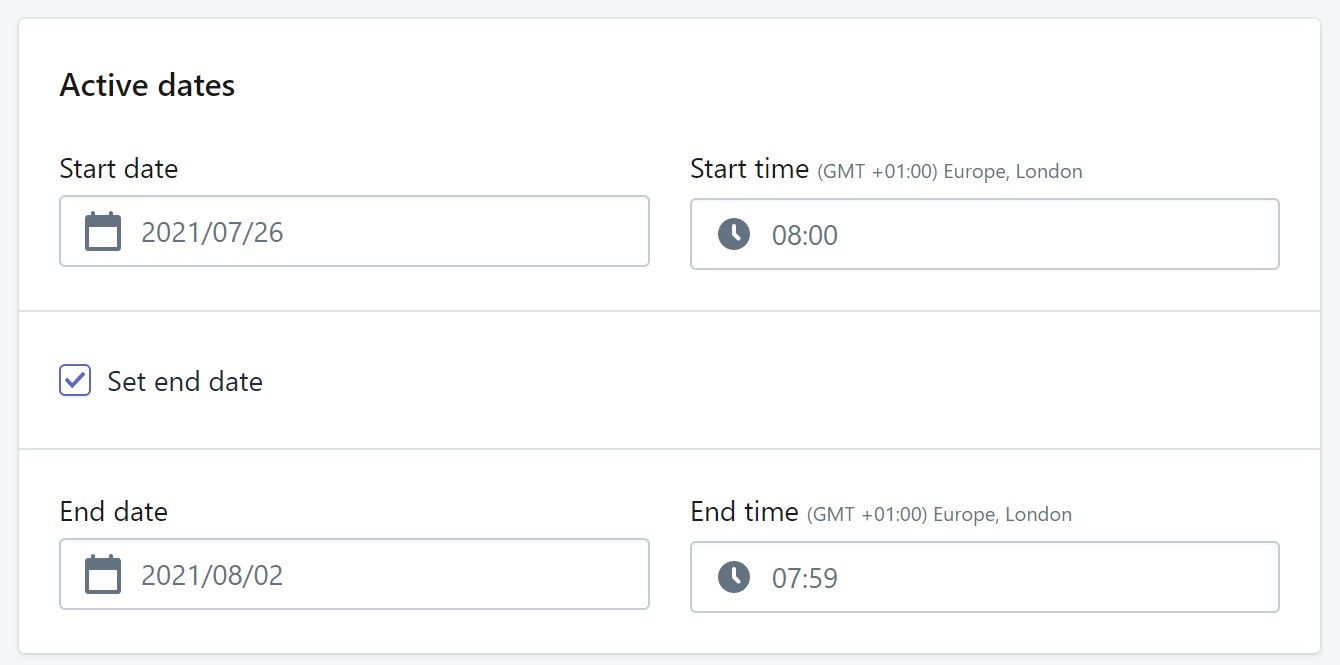
- Select the start date and time. In our case, we will start at 8am on this coming Monday for the collection. We will then click 'set end date' and set this as 7.59am the following Monday for it to be unpublished. Setting the unpublish time to one minute before ensures there will be no crossover.
For the next two sections, you can keep them set as they're set as default.

Step 4; Repeating. For the repeating section, select "Custom" from the drop down menu.
When the popup appears, set the "every" field to 4 and ensure this says 'Week'. This will set this schedule to repeat every 4 weeks. You will need to adjust this based on your needs. For example, if you have 8 rotating ranges that switch every week, you will need to set this to repeat every 8 weeks instead.

Click "Save" and you will see that the schedule for this collection is scheduled exactly as we want.

Step 5; Create 3 more schedules. One for each of our remaining collections.
- Follow the same steps to set up your other schedules as the first. You might want to call them 'Week 2', 'Week 3' and 'Week 4'. Selecting the relevant collections for each of the schedules.
- Now for the important part. For the start and end dates/times you need to select one week further ahead than the previous one, since we want this one to begin immediately after the last one. The image below shows Week 2 of our schedule (so starts exactly one week after Week 1)
- The rest of the details can remain the same as your Week 1 schedule, including the repeating option (Every 4 weeks)
Step 6; Save your schedules and check the schedule tab. Once you've saved all four schedules, your schedules should look something like this:
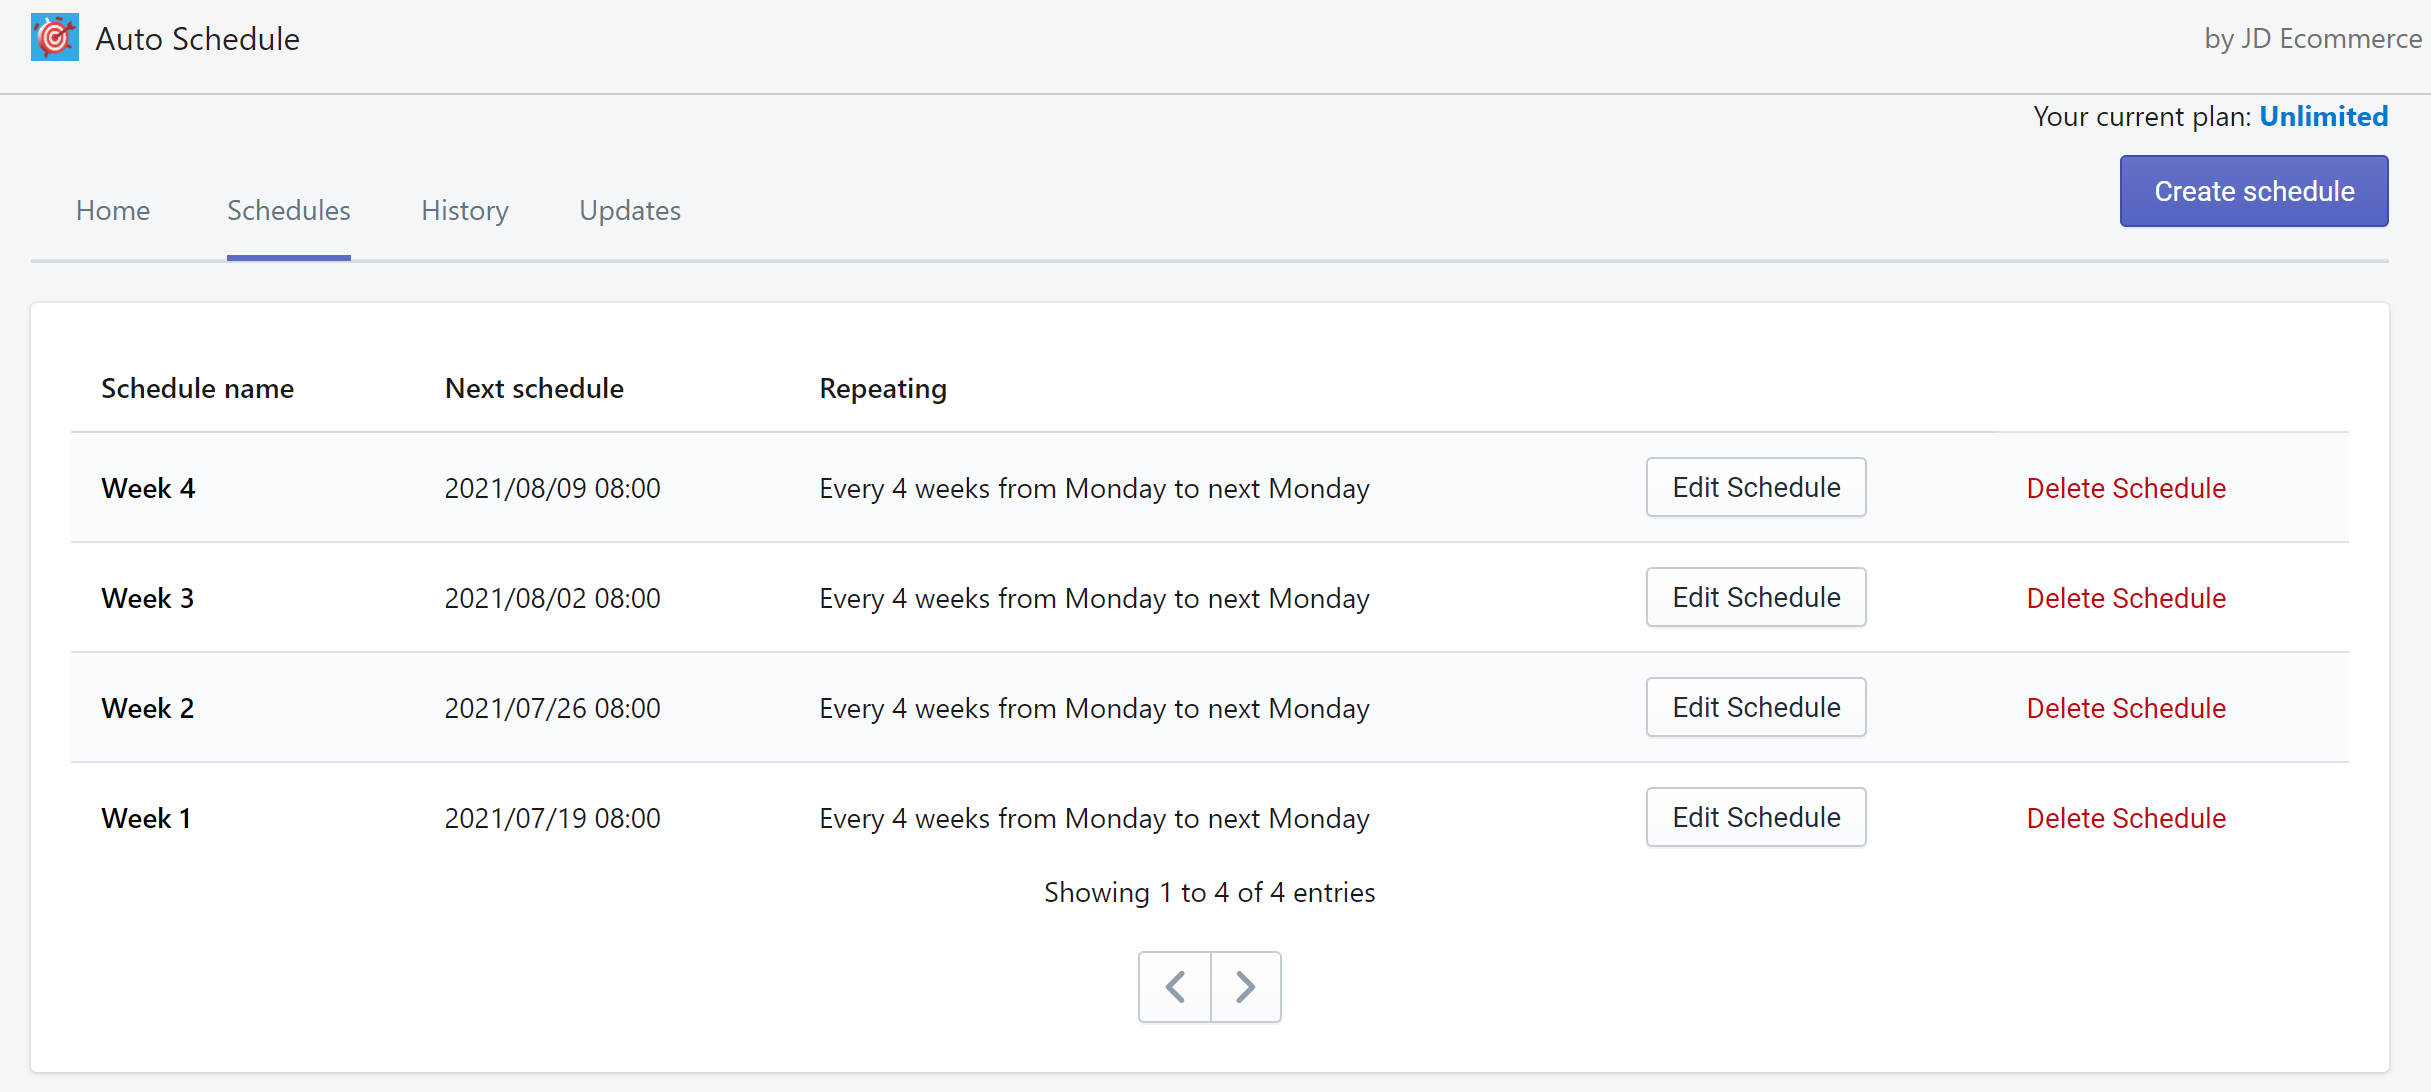
Congratulations! You now have a weekly rotating schedule that will run indefinitely. Super stuff.